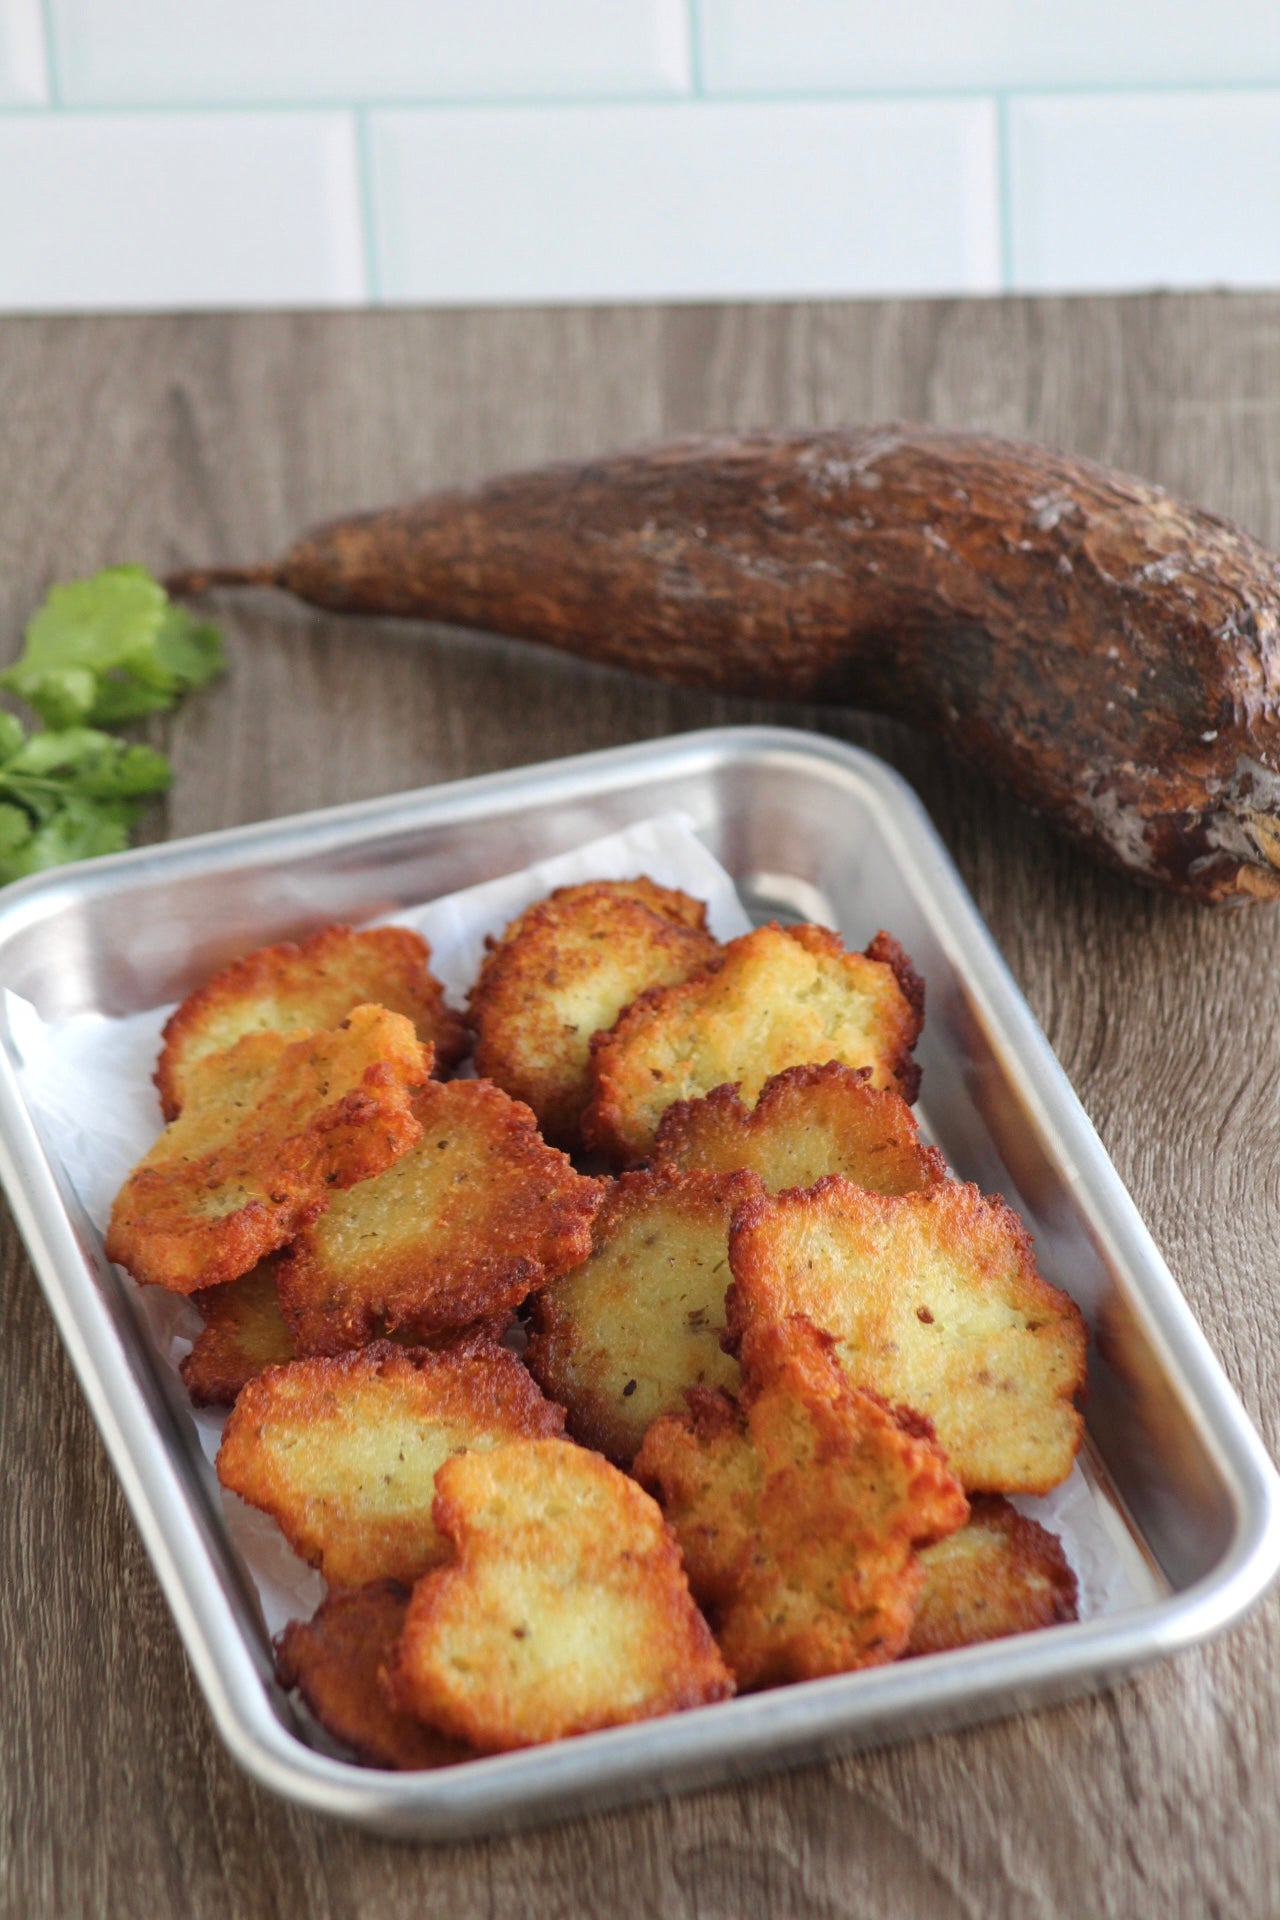
Arepitas de Yuca
Crispy yuca fritters made with anise seeds and Recaito for a bold and unique flavor.
By: Franchesca Livraghi | @breakthrukitchen
If you’re craving something crispy, golden, and totally irresistible, then you have to try making Arepitas de Yuca! These little fritters are a Dominican favorite, and I have so many memories of my mom making these even just as a snack.
Anise seeds and sugar gives distinct taste
Anise seeds and sugar really make Arepitas de Yuca special. The anise seeds add this cool, subtle hint of licorice that pairs so well with cassava. Then, a little bit of sugar brings in just the right amount of sweetness to balance things out. It’s this combo that gives the fritters their unique flavor and makes every bite a bit more interesting.

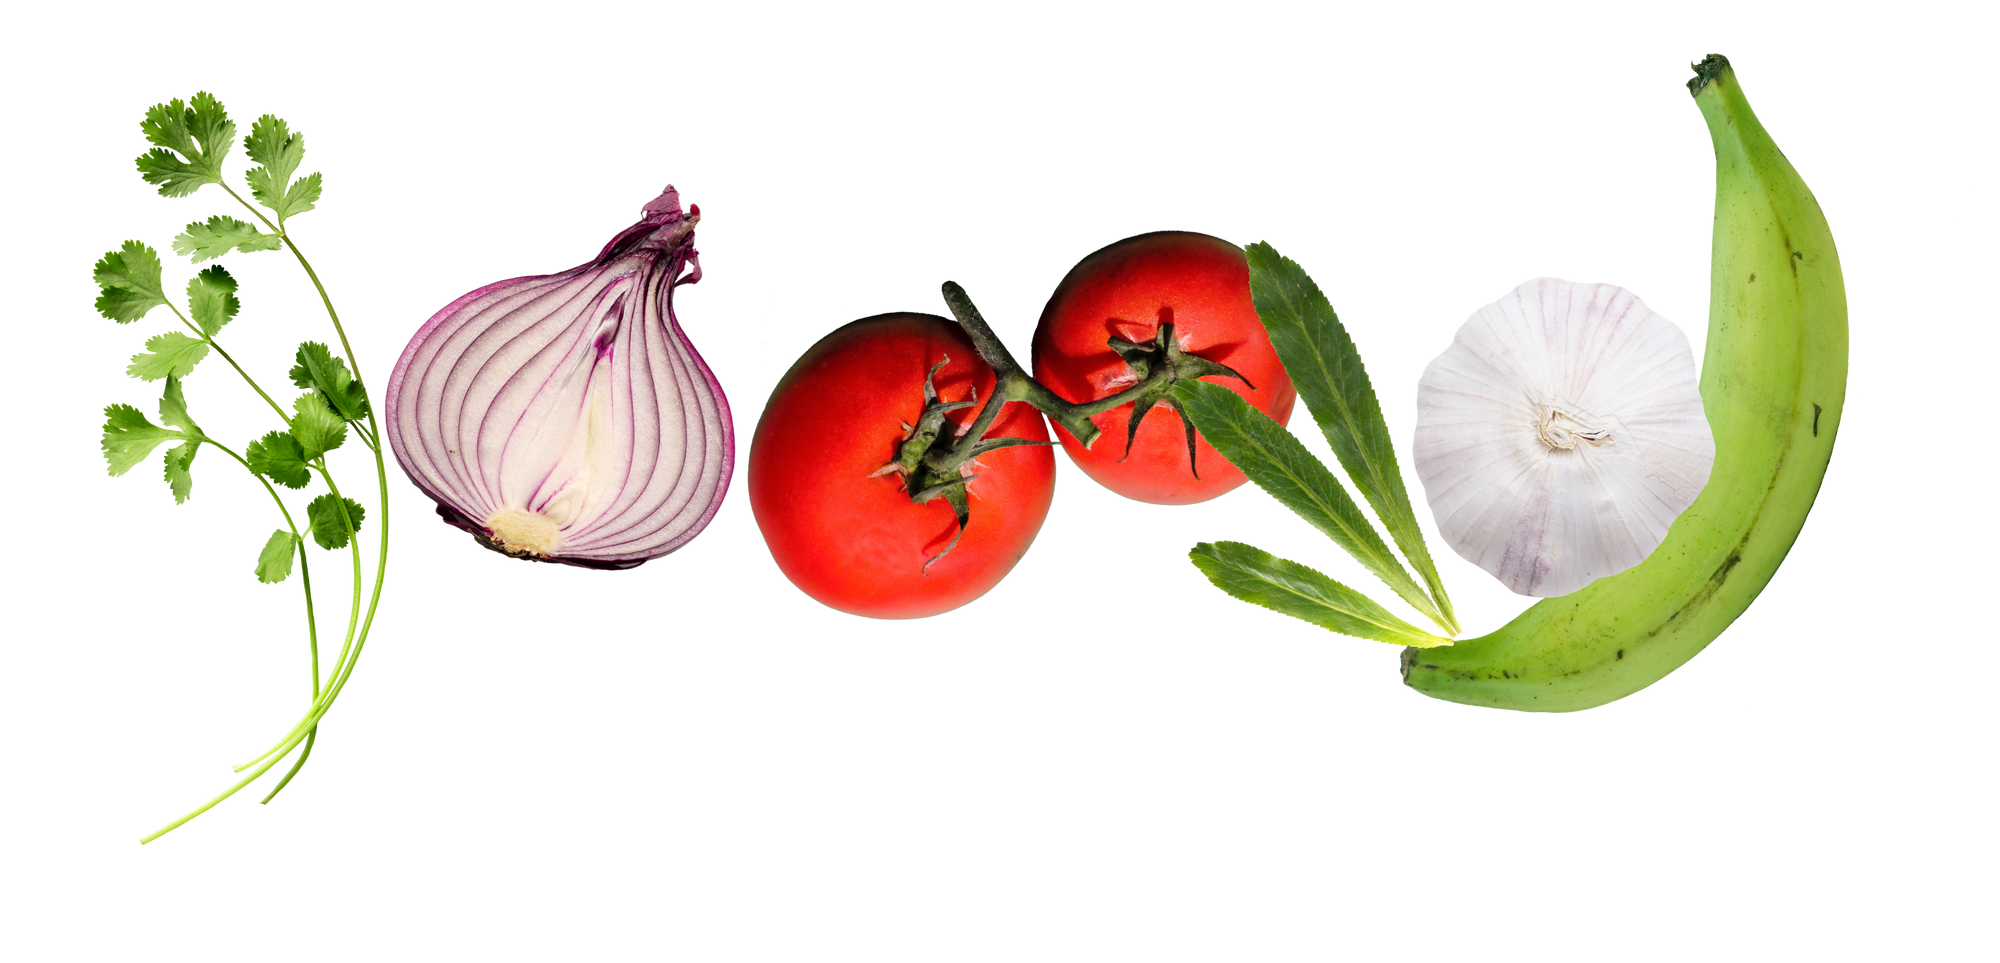
Add Loisa’s Recaito for some herby flavor
Adding a spoonful of Loisa’s Recaito is a game-changer for this recipe. It gives the Arepitas de Yuca this delicious herbiness that makes the fritters taste even better. It’s a simple trick that makes a big difference!
Tips for peeling fresh yuca
Peeling fresh yuca can be a bit tricky because of its tough skin, but with the right approach, it’s manageable. Start with a sharp knife, and begin by cutting the yuca into smaller sections. This makes the yuca easier to handle and peel, and reduces the strain on your hands and wrists. Here are my tips for peeling yuca easily and quickly:
- Lightly score the skin diagonally throughout the yuca. This technique helps break the skin into more manageable pieces and makes it easier to peel off in larger sections.
- Hold a piece of yuca and use the edge of a spoon to gently scrape off the skin. The curved edge of the spoon can help you get under the skin and remove it more easily, especially in the grooves.
- Try soaking the cassava in warm water for a few minutes before peeling. The warmth will help soften the skin, making it easier and quicker to peel off.

Use the right part of the grater
When grating the yuca for your Arepitas de Yuca, make sure to use the finest side of the grater—the one that turns ingredients into a paste. This helps you get a super fine texture, which is ideal for mixing into the fritter batter.
If you use any other kind of grater side, you won’t get that classic texture in your Arepitas de Yuca. You’ll probably even end up with something closer to arañitas.
What’s the difference between arepitas y arañitas
The difference between Arepitas de Yuca and arañitas de yuca is pretty straightforward. Arepitas are like small, round fritters made from grated yuca so they have a meatier filling. They end up with a smooth, tender inside and a crispy outside.
On the other hand, arañitas are made by shredding or thickly grating yuca into thin strips, forming them into clusters and then frying until they’re super crispy and light.

Storing Arepitas de Yuca
Refrigeration (Short-term storage):
Cooked Arepitas: After frying, let the arepitas cool completely. Place them in an airtight container or a zip-lock bag and store them in the refrigerator. They can last up to 3 days.
Uncooked Dough: You can store the dough in the refrigerator for up to 2 days. Wrap it tightly in plastic wrap or place it in an airtight container to prevent it from drying out.
Freezing (Long-term storage):
Cooked Arepitas: Once cooled, place the arepitas on a baking sheet lined with parchment paper, ensuring they don't touch each other. Freeze them for 1-2 hours, then transfer them to a zip-lock bag or airtight container. They can be stored in the freezer for up to 2 months.
Uncooked Dough or Formed Arepitas: Shape the arepitas and place them on a parchment-lined baking sheet. Freeze them as mentioned above, then transfer them to a zip-lock bag or container. They can be stored for up to 2 months.

Heating Up Arepitas de Yuca
From the Refrigerator:
Oven/Toaster Oven: Preheat the oven to 350°F (175°C). Place the arepitas on a baking sheet and heat for 5-10 minutes, until warm and crispy.
Stovetop: Heat a small amount of oil in a skillet over medium heat. Fry the arepitas for about 2-3 minutes on each side until they are warmed through and crispy.
From the Freezer:
Oven/Toaster Oven: Preheat the oven to 350°F (175°C). Place the frozen arepitas on a baking sheet and bake for 10-15 minutes until heated through and crispy.
Stovetop: Fry the frozen arepitas in a skillet with a bit of oil over medium heat for 3-4 minutes per side until they are hot and crispy.